
Call (610) 664-5555
Call (610) 664-5555
Thanks to an increase in new construction in the residential market, downsizing isn’t what it used to be. Whether you’re looking to stay in a single home within a community, move into a townhouse and maintain multi-level living on a smaller scale, or would love one floor living and amenities in your building, there are more options that ever when looking for the perfect forever home.
And while many of the new construction options have a feeling of “sameness” to them, there are some simple ways to personalize your new space and create that true feeling of home. Here are a few examples of how to make your new space feel just as luxurious as your current home.
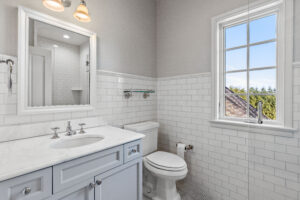
Add Architectural Details
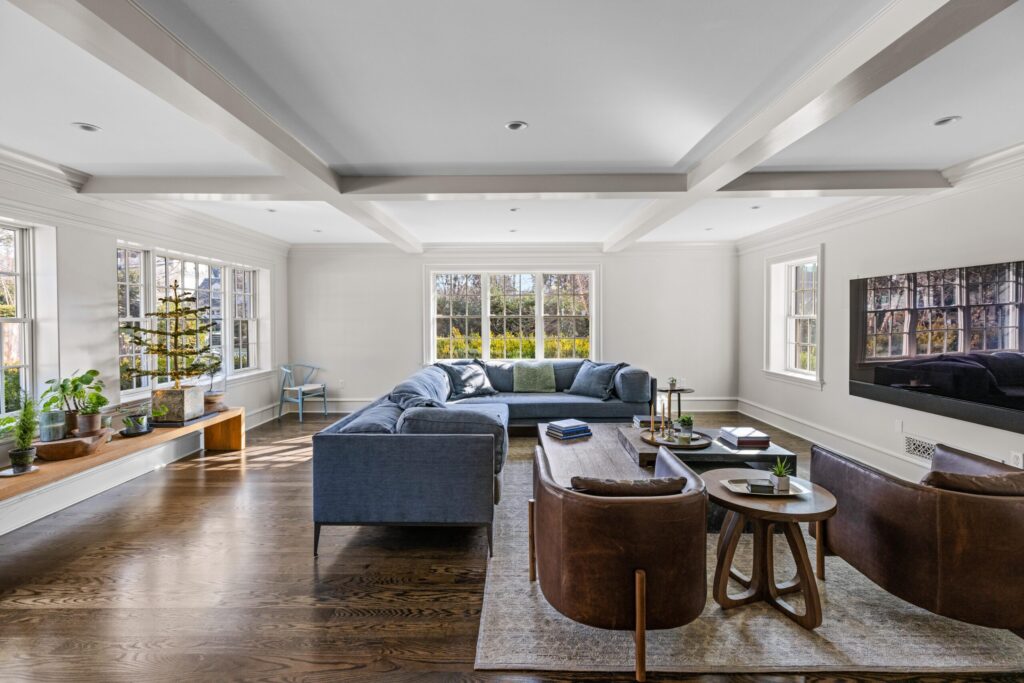
From crown moulding, wainscoting, or contrasting finishes to soften the space, there are a wide array of options to add detail to any space in your home.


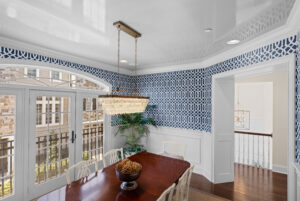
Add Visual Interest
While gray is still the most common choice for wall color, painted ceilings and wallpaper are becoming more popular as well. From more modernized grasscloths to geometrical patterns and colors, there are endless options to add personality to your home.
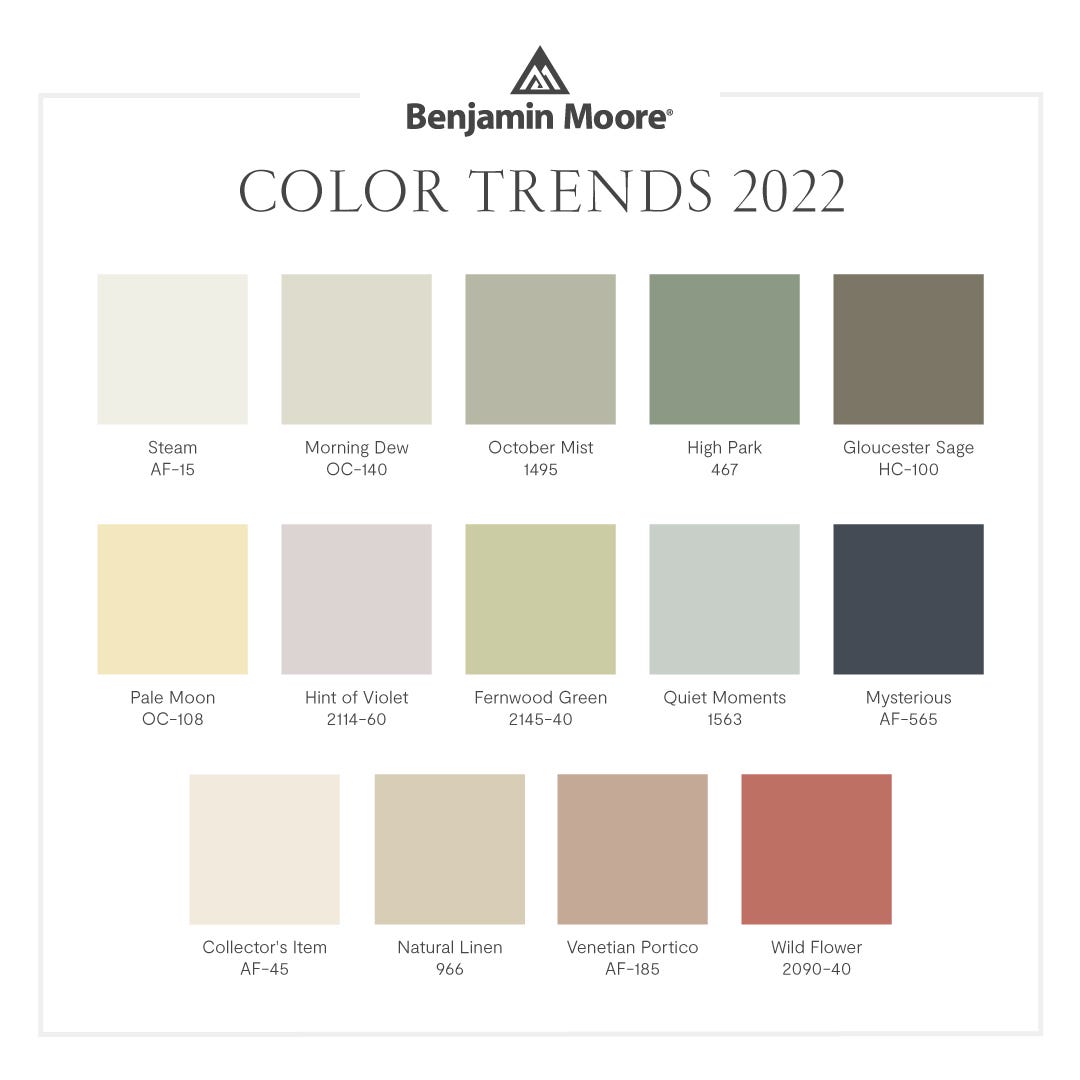
If the colors of spring have inspired you to update the colors in your home, you’ll find plenty of inspiration within the 2022 Color of the Year palettes.
Benjamin Moore chose October Mist as their Color of the Year – a silvery green based on something we see everywhere, but often overlook – a flower stem. This neutral green provides the perfect base to complement their carefully curated collection, and is sure to breathe new life into any space in your home. Our favorites include Collector’s Item, Wild Flower, and Mysterious.

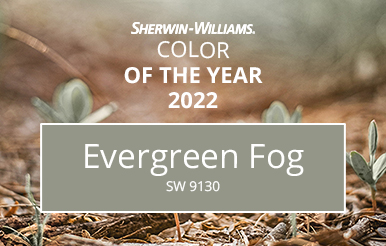
Sherwin Williams also selected a neutral green as their Color of the Year, but one with a slightly deeper tone and feel. Evergreen Fog, a “chameleon” like gray-green has a very earthy and organic feel, perfect for creating a calm and relaxing space.
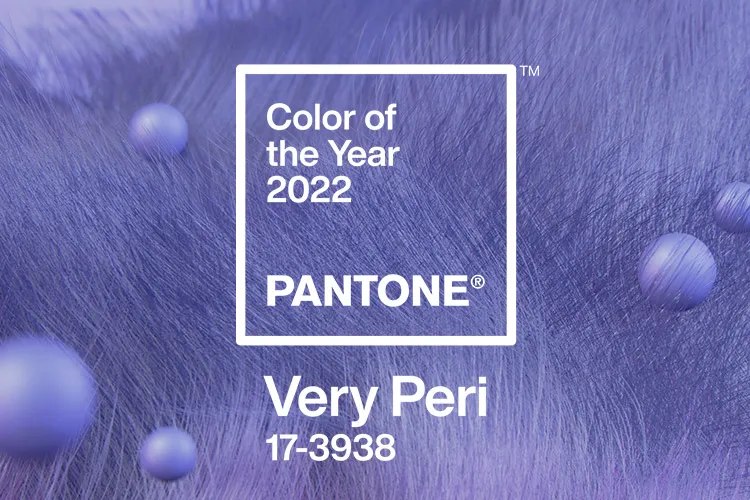
And while the Pantone Color of the Year may not always make it into the mainstream in interior home remodeling, it’s always fun to see what’s trending in color and design throughout other industries. This year’s Color of the Year, Veri Peri, is sure liven things up. Just a small splash of a fun color is all it takes to change the look and feel of a space, and shift your mood as well.
If you’ve grown tired of gray and are ready to add some color back into your life and home, our color experts are ready to help you select colors with confidence that are a true reflection of your own personal style.
Although the groundhog predicted six more weeks of winter, the countdown to spring is underway, and with it time for Spring Cleaning. You might be surprised by problems affecting the longevity of paint performance – most of which can be minimized with a thorough Pressure Cleaning.
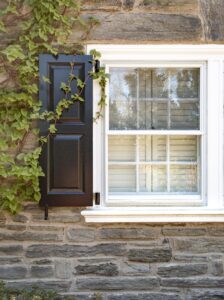
Over the course of the seasons, acid rain residue, salt deposits, oily pollution, dust, soot, mildew, and algae all build up on the surfaces of your home. You would never think that these simple items can cause premature paint breakdown, but they do. The solution to prolonging the durability of an exterior paint job is to have your home Pressure Cleaned every 2-3 years.
Weathered wood and peeling paint also become an issue as your house is continually exposed to the elements, and a thorough Pressure Cleaning should be completed prior to exterior painting to ensure proper adhesion of new paint.
Pressure Cleaning is the most cost-effective way to maintain your home and can save you both the time and expense of having to repaint 2 – 3 times as often. It will also leave your house looking “its best” for the start of the outdoor season as we look forward to gathering together in our outdoor spaces.
Areas that benefit from Pressure Cleaning include:
It’s time to add Pressure Cleaning to your Exterior Maintenance To Do List now for the start of the exterior season.
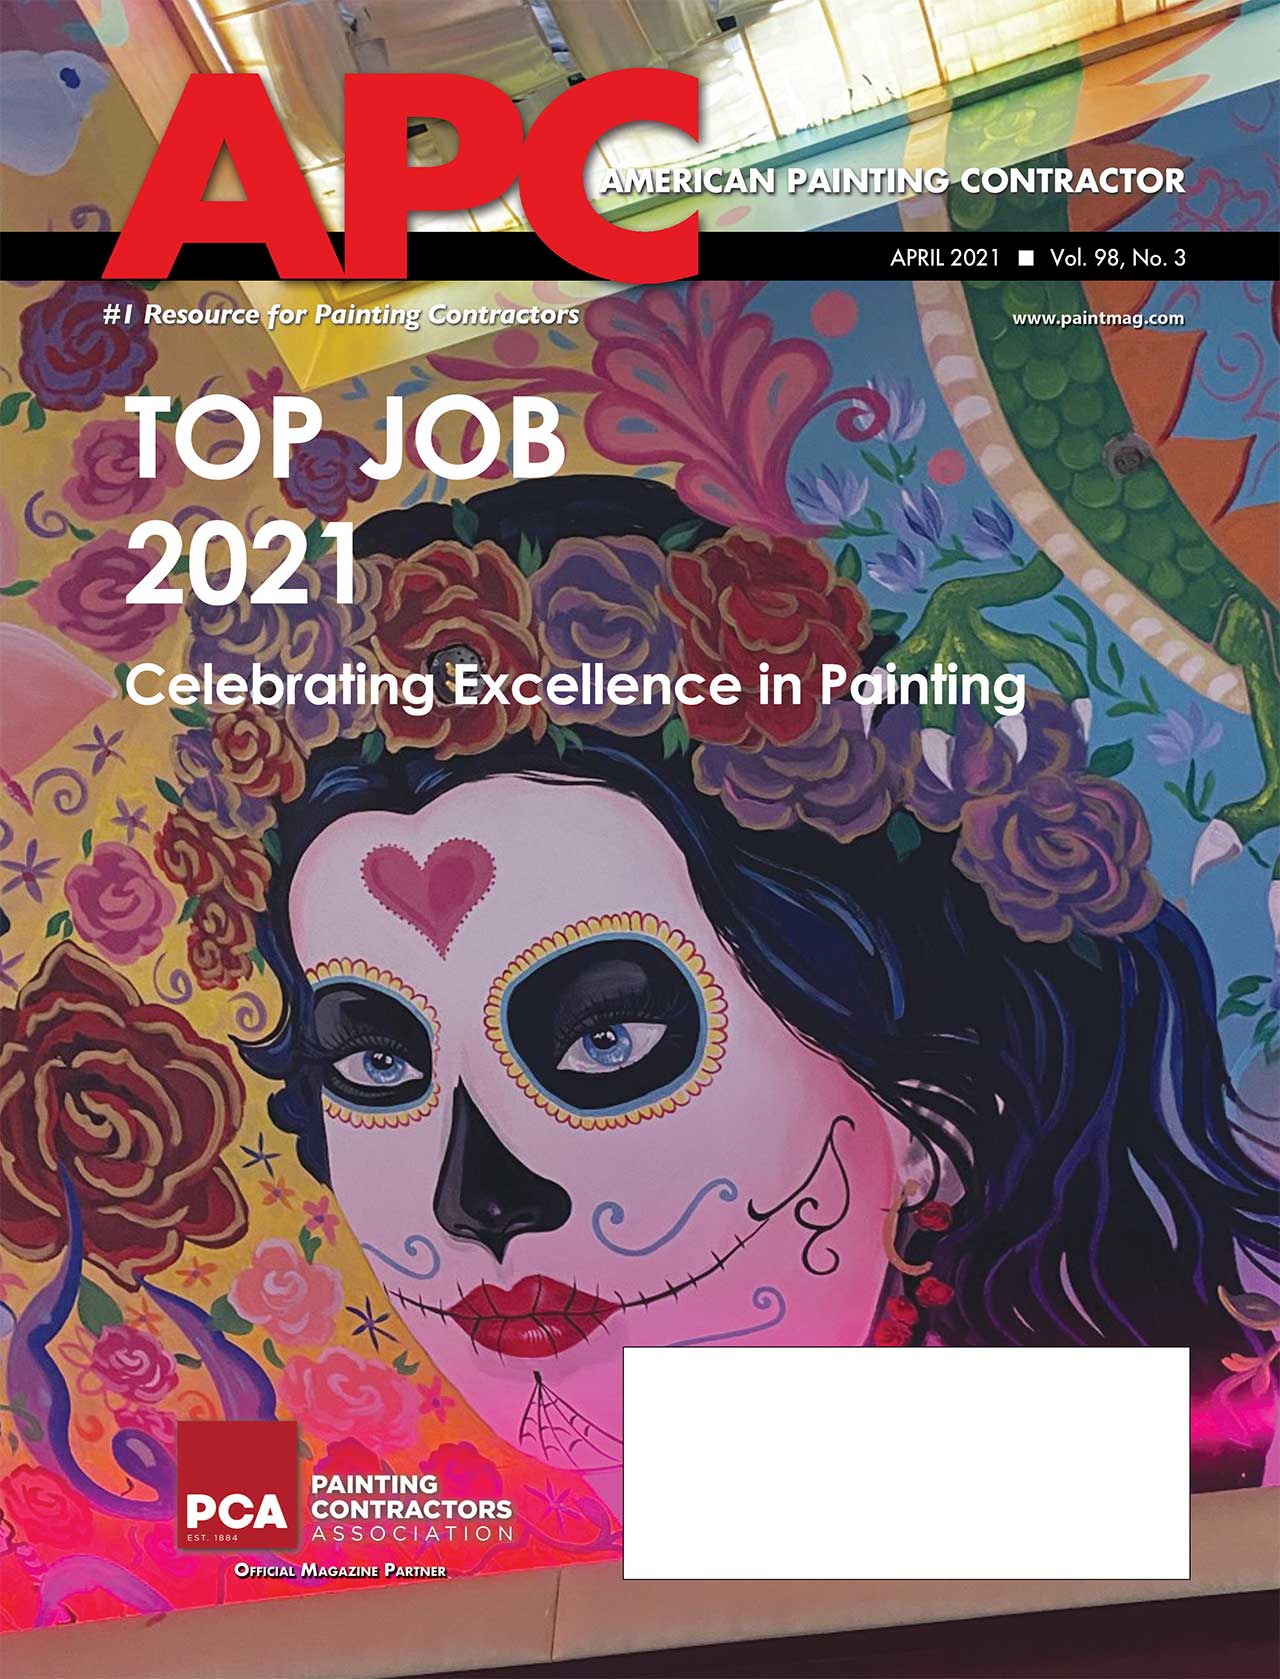
John Neill Painting was featured in APC’s 2021 Top Job.
If we’ve learned anything over the past 18 months, it’s that what we thought would be a temporary change in the way we work and live has now become a more permanent way of life for many of us. And while it’s easy to focus on the negatives, there are also a few positives that have resulted from the shift to what we all now refer to as “the new normal.”
A recent study found that adults are spending 53% more time at home. This means many of our daily routines and habits have changed. Here are the top 3 trends we’ve seen as a result, and what it means for homeowners looking to make updates to their homes.

Many of us are working remotely, trying new hobbies, spending time with loved ones and pursuing interests individually and as families. As a result, we are re-thinking how we use all of the space in our homes and what we’ll need moving forward. Many are
re-allocating space for dedicated home offices, carving out space for a new hobby, and creating places where we can find enjoyment both alone and together.
We are beginning to remember why we love and need color in our homes. We’re adding it to our walls, through fun accent pieces and even with new furniture purchases. As someone recently said: “I realized on my Zoom calls, everyone’s walls were either gray or white and I became instantly bored with the sameness of it all.”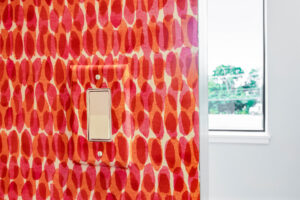
While working remotely has given us back our most precious resource – time – we have become more observant in noticing all of the things we’ve put off fixing or updating. The added time at home has now motivated many of us to complete these updates and enhance the beauty around us within our own homes.
These realizations have also lead to a substantial increase in the demand for home decorating and remodeling services. Which means there is an increased need to plan ahead.
If you find yourself ready to refresh or update the colors in your home or it’s been a while since you had any exterior maintenance work done, now is the time to start the process. While we may be in the midst of winter, NOW is the best time to start planning for spring and summer projects.
Research has shown that one of the things that gives us an enormous boost in mood and energy is the act of completion. From a small simple task to a big to do, nothing feels as good and being able to say “that’s done.”
With the world hitting “pause” and all of us spending so much more time at home over the past year, it’s impossible not to notice everything that needs attention around your house. All of the things we’ve been putting off due to the “busyness of life” pre-pandemic are now front and center as we see them every day.
The quiet Winter months are a great time to tackle all the lingering to do’s that will make your home a place you truly love being. From creating spaces that can transform from an e-learning spot back to a room where everyone gathers, or updating your kitchen and pantry to accommodate preparing more meals and home, small changes can have a big impact.
The easiest update you can make that will have the biggest impact is utilizing color. If you’ve been living with the same colors for years and are ready for a change of scenery, painting a room in a new color or shade will instantly infuse fresh energy into the space. From subtle tones that allow the natural light to take center stage to bold and bright colors that set their own tone, now is the perfect time for a fresh start. And you’ll feel even better when you can check a room or two off of your list as completed.

Whether you’re in need of a breath of fresh air or some solid ground underneath your feet as we enter into a New Year, the 2021 colors offer something for everyone to set the perfect tone for a fresh start.
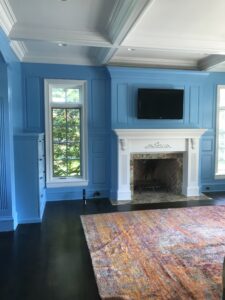
This mid-tone blue-green with cool gray undertones sets the perfect backdrop for a balanced and welcoming feel in any room. Utilizing the theme of “your home is your refuge”, Benjamin Moore created a warm, sun-baked color palette that is both intriguing and comforting and includes some bold colors along with some classic neutrals.

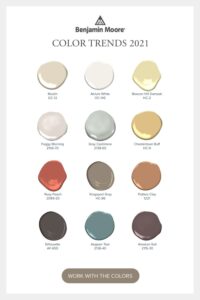
Pulled straight from mother earth, this grounding neutral creates a sense of peace and tranquility and allows lighter complimentary colors to truly shine through.

Once again, and at the close of a tough year, Pantone decided one color of the year wasn’t quite enough. Combining a practical gray and optimistic yellow, these two colors blend seamlessly together to create a sense of security with a much needed touch of hopefulness for the future.

When it comes to color, what we see everyday has a direct impact on how we feel. From calming blues, stimulating reds, cheerful yellows to natural greens that bring the outdoors inside, be sure to choose colors that suit your personality and style. From classic to on trend, bold and bright, or soft and subtle, whatever you seek to create can be accomplished with just the right shade of paint.
 Education is a high priority in our household. Our parents, who were both teachers achieved their mission of making sure that we each got the appropriate education to suit our learning styles. They also instilled in us the importance and impact of service to others, and we each continue to find ways to honor this in both our personal and professional lives.
As a result, every year John Neill Painting seeks out local non-profit organizations in need to assist with donations, either in kind or through funding to further their mission.
Last year we were introduced to John Alston and the Chester Children’s Chorus. While we did make a monetary donation, we were also excited to help promote their Spring Concert Series, which unfortunately was canceled for safety reasons due to the pandemic.
Director, John Alston’s childhood was dramatically changed by his experience with the Newark Boys Choir. This introduction to the discipline of time and practice required to excel, along with the experience of learning to sing complex compositions in a large group gave him the skills needed to graduate from Swarthmore College, then move on to Indiana University where he completed his doctorate.
His deep love of music helped him discover his purpose, which lead to founding the Chester Children’s Chorus, where he teaches children from the third grade and up thinking, discipline, and practice through their shared gift of song. With a deep understanding of the importance of a solid educational foundation, the program also includes tutoring in both math and language arts to develop well rounded young men and women, preparing them for life beyond high school.
In spite of not being able to gather to sing over the last eight months, John and all of the staff and volunteers from the organization continued their academic work with the children, offering stability and a much needed continued connection to the community during these trying times.
As we enter another season of giving, we would like to re-introduce you to the Chester Children’s Chorus and share the exciting news of their Virtual Holiday Concert Special on December 12th at 7 pm.
We invite you to watch the Anniversary Video of the Chester Children’s Chorus and consider joining us in supporting this worthwhile organization. It is living proof that when we care for every person in our community, we are all ultimately more successful.
And, after hearing their story and their voices, you feel moved to donate, you can do so here: Make a Gift
Wishing you a wonderful start to the Holiday Season and happy #givingtuesday
With Our Gratitude,
Suhaiba Neill – on behalf of the entire John Neill Painting & Decorating Family
While most of us have fully adjusted to spending the majority of our time at home, the start of school may have brought with it new challenges to having everyone inside and in a quiet space for the bulk of the day.
If you find yourself rethinking the way you’re utilizing the spaces in your home, here are some suggestions on how homeowners have been updating their homes to achieve better balance while both working and living under the same roof.
Creating Home Offices and “School” Spaces – Working remotely from home and attending school virtually has been a big change for many of us. Having a designated space that is set up for maximum efficiency and comfort is crucial. And don’t forget about your “zoom” backdrop – which should be simple and free of clutter. From changing out an outdated wall color to adding custom desks and shelving to keep everyone organized, proper functionality will lead to increased productivity.

Updating your Kitchen – The kitchen has always been the heart of the home, and with most meals now being eaten at home as well, we’re all spending more time in our kitchens than ever before. If you’re wishing yours was set up differently or is long over do for an update, redesigning the layout in your pantry or simply changing out the color on your cabinets for a fresh new look and feel will help in this space where functionality truly matters.

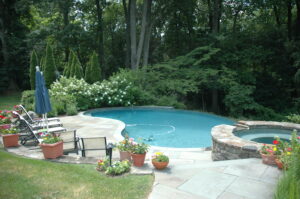
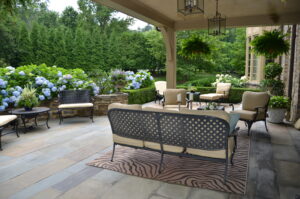
Enhancing Outdoor Spaces – Fall is officially here, and with it cooler weather. After spending the day indoors and in front of a screen, having an outdoor space to escape to can make all the difference. Simple updates to your outdoor space can provide some much needed time in the sunshine or a quiet evening under the stars at the end of a long week.
Most people don’t realize that water damage poses the greatest threat to both the interior and exterior of your home.
As we move into the heart of the Summer season, it’s time to make sure your house is sound and protected in preparation for the colder months to come. Here are some tips on where to start and what to look for.
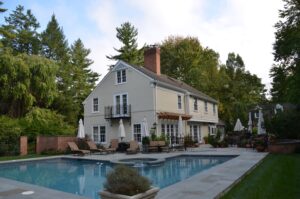
1 – Start at the Top: It’s always a good idea to have your roof, any flashing, tops of chimneys and gutters and downspouts inspected every few years to avoid costly repairs in the future.


2 – Out of Sight often translates to Out of Mind: If you have 2nd or 3rd story dormers, make sure to have the sides inspected for wood rot and/or peeling paint and take care of any needed repairs before things deteriorate any further.
You’ll also want to inspect all horizontal surfaces (as they wear more quickly than other areas on your home) paying particular attention to window sills and bases of doors and columns.

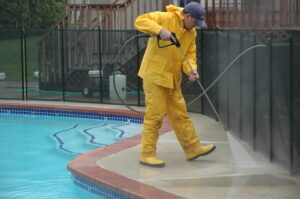
3 – Keep it Clean: Just like washing your car regularly helps maintain the durability of the finish, Pressure Cleaning your house every 2-3 years also helps extend the life of the paint job. Stone, stucco, brick, and siding can all be pressure cleaned as well as shutters, patios, pool surrounds, decks, and walkways.

[email protected] (610) 664-5555
231 Linwood Ave. Ardmore PA 19003
PA Contractor No. - PA014716
Licensed in PA, NJ & DE


Meticulous Preparation, Skilled Craftsmanship and a Commitment to Excellence
 |
We serve the following areas: Center City Philadelphia, Bala Cynwyd, Gladwyne, Narberth, Penn Valley, Merion, Wynnewood, Ardmore, Haverford, Bryn Mawr, Villanova, Wayne, Devon, Berwyn, Paoli, Malvern, Chester Springs, Newtown Square, West Chester, Blue Bell, Gwynedd, Jenkintown, Rydal, Meadowbrook, and Chestnut Hill.
© 2024 John Neill Painting & Decorating. All rights reserved. Privacy Policy.
